In the south, we take our front porches seriously. A front porch is a place for sitting and taking the time to watch the world go by. It’s a place to make guests feel welcome and at home even before they come inside. And, it’s an opportunity to show off your porch decor skills.
A welcome sign is an important part of any good porch scape. And a welcome sign that can be changed to match the season or celebrate a holiday? Well, that’s even better.
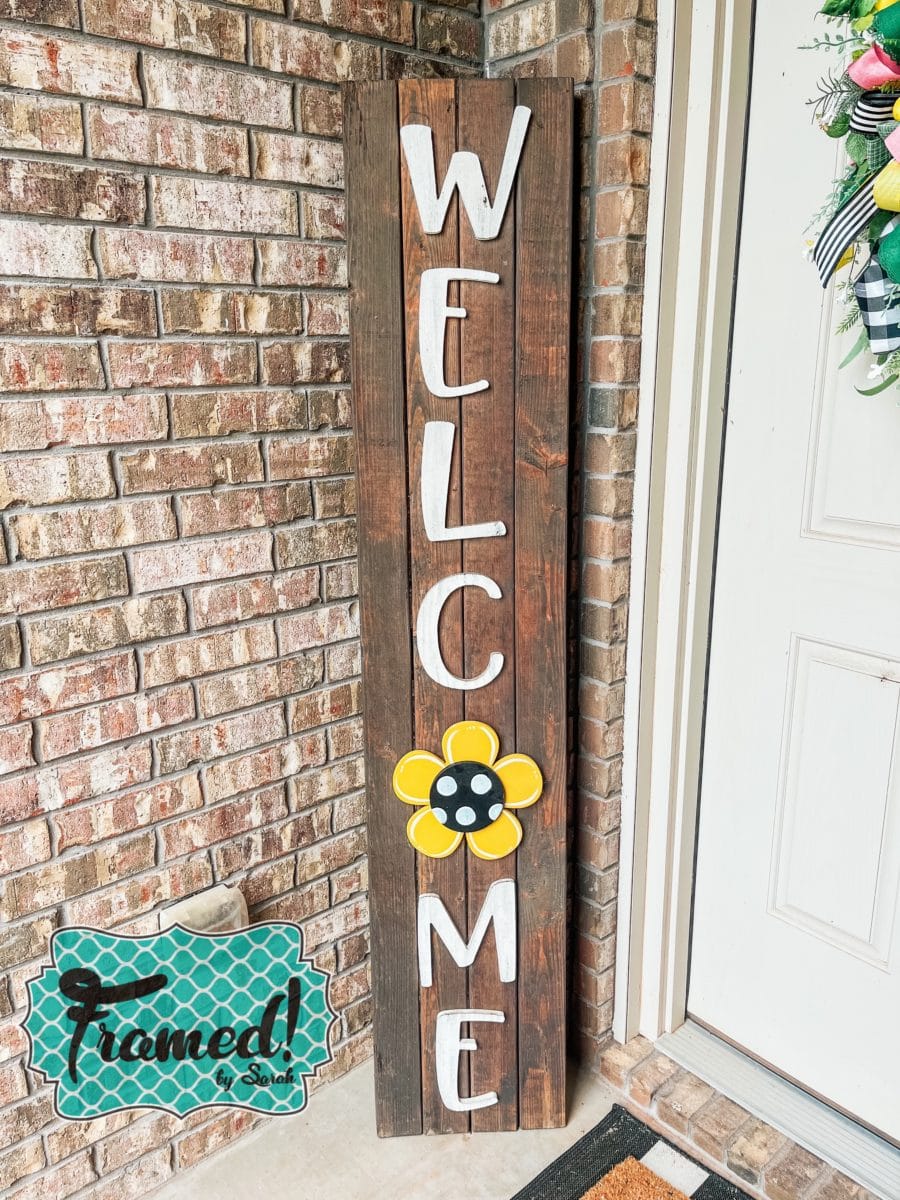
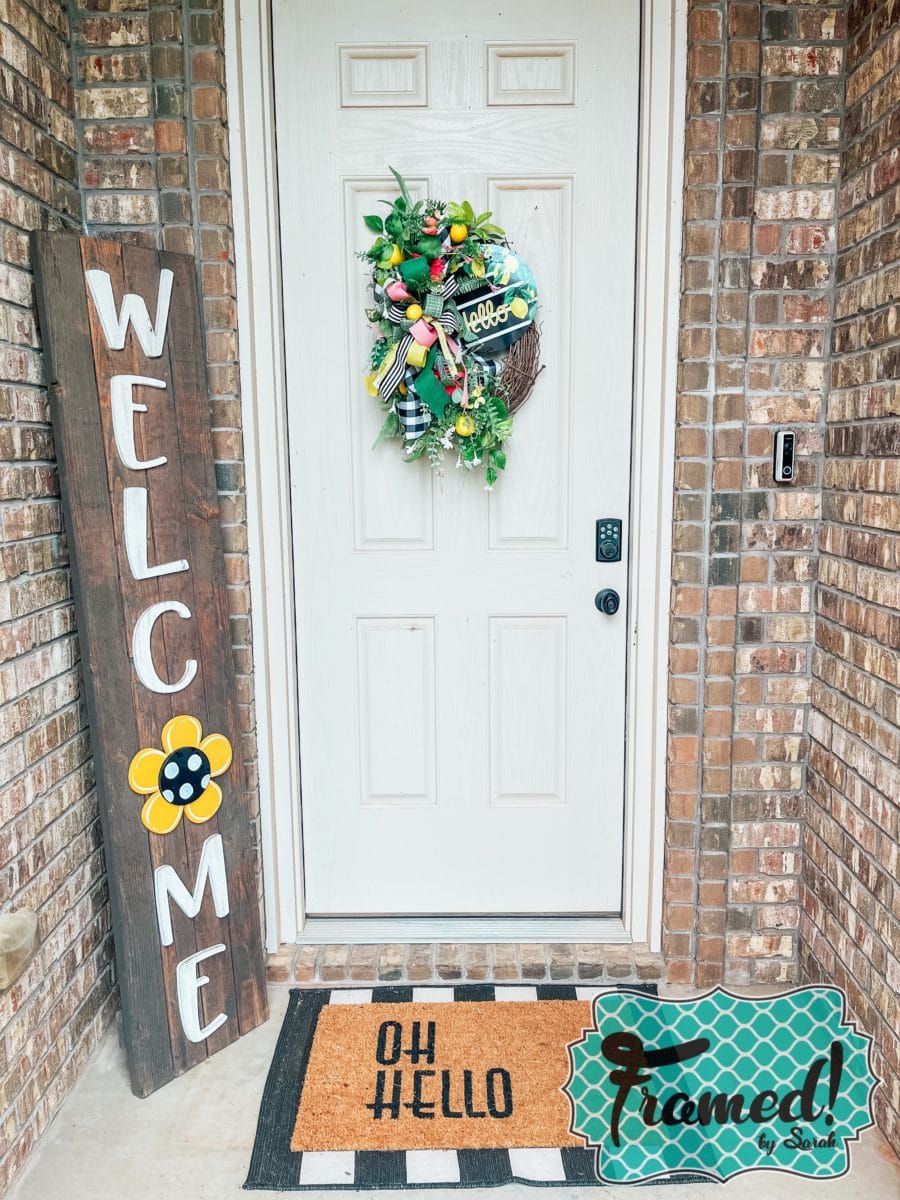
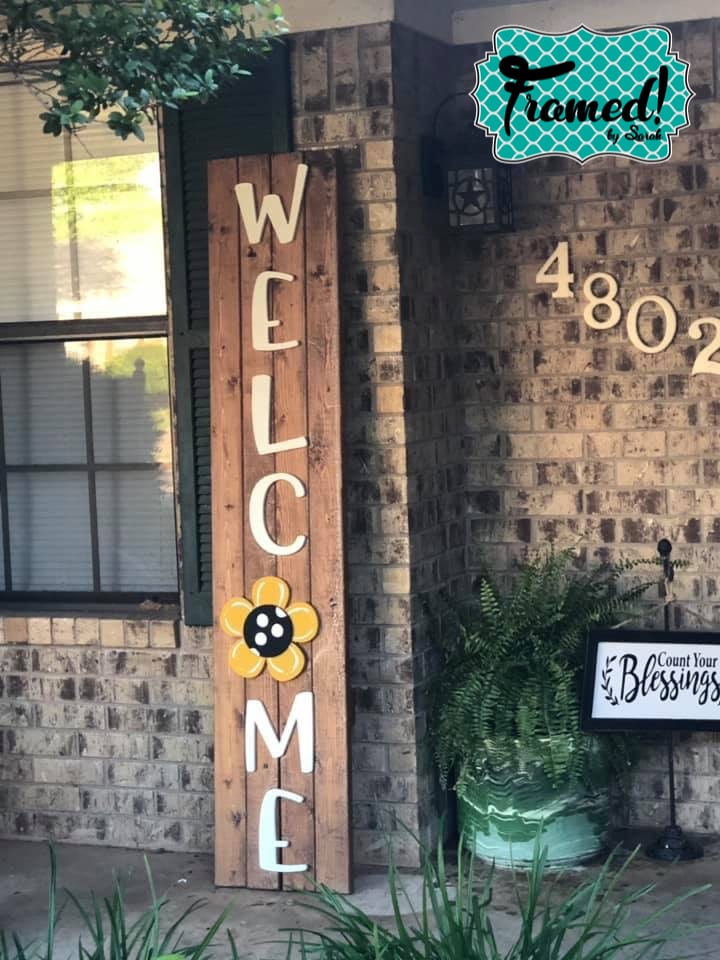
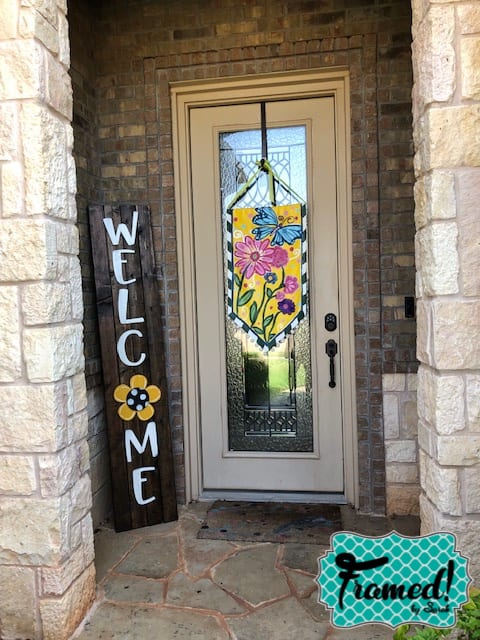
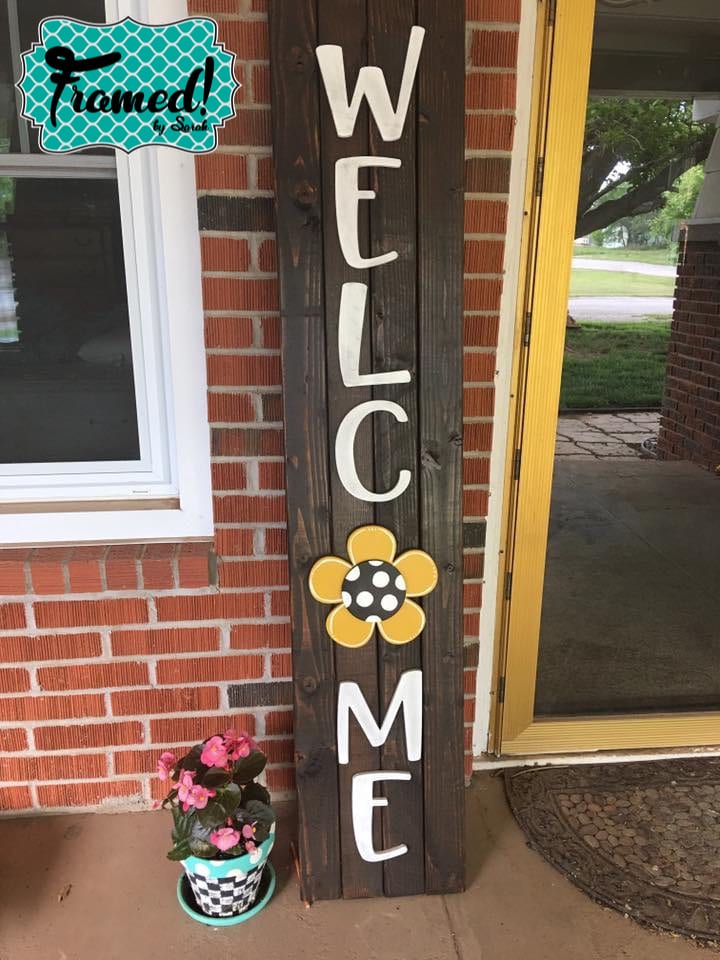
This yellow flower attachment goes perfectly with my spring grapevine wreath from DecoExchange, I just love how the black and white check pair with all the bright colors for spring and summer.
Today I’m walking you through creating your own DIY welcome sign with seasonal attachments. This is a relatively easy project I know you’ll have fun with – and the result will have your neighbors asking where they can get one, too!
* This post may contain affiliate/referral links. I could make a commission at no charge to you if you purchase my recommended products. Please read my disclosure and privacy policy here.
Easy DIY Welcome Sign - Step 1: Assemble and Stain your Wood Backer Board
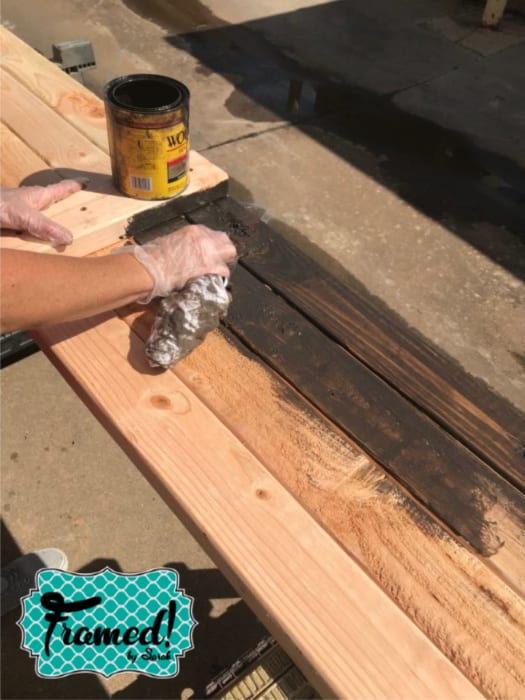
I used 2x4s from my local hardware store to create the back of the welcome board. This made it very heavy. You could use 1x4s to make it lighter. I had the boards cut into four six-foot pieces and attached them with smaller cross bars on the back side. It ended up being 16 inches wide and six feet tall.
When it comes to staining the wood, you have a choice. You can either stain them before or after assembly. I used a mixture of Minwax Stains I had on hand. By combining an ebony stain with a lighter wood color, I was able to get this deep brown color. You can choose any stain color you like, but keep the color of the brick or siding on your home when making your decision.
I always suggest reading the directions on the can of stain. I do find the easiest way to apply stain is to simply wipe it on and then wipe the excess off.
Tip: Do not let the excess stain dry on the boards. It will remain sticky if you do.
Easy DIY Welcome Sign - Step 1: Assemble and Stain your Wood Backer Board
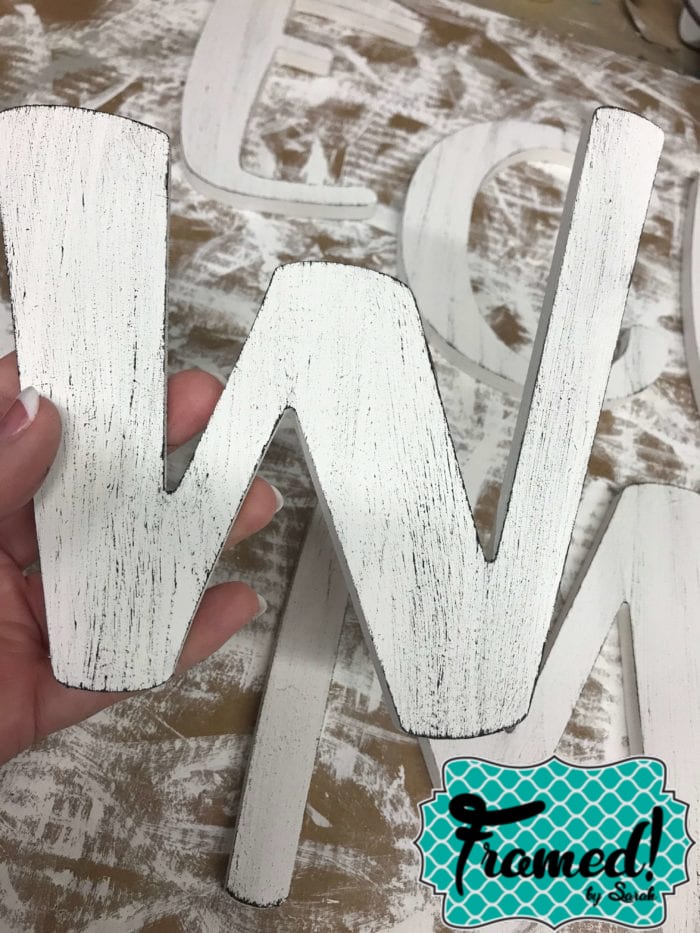
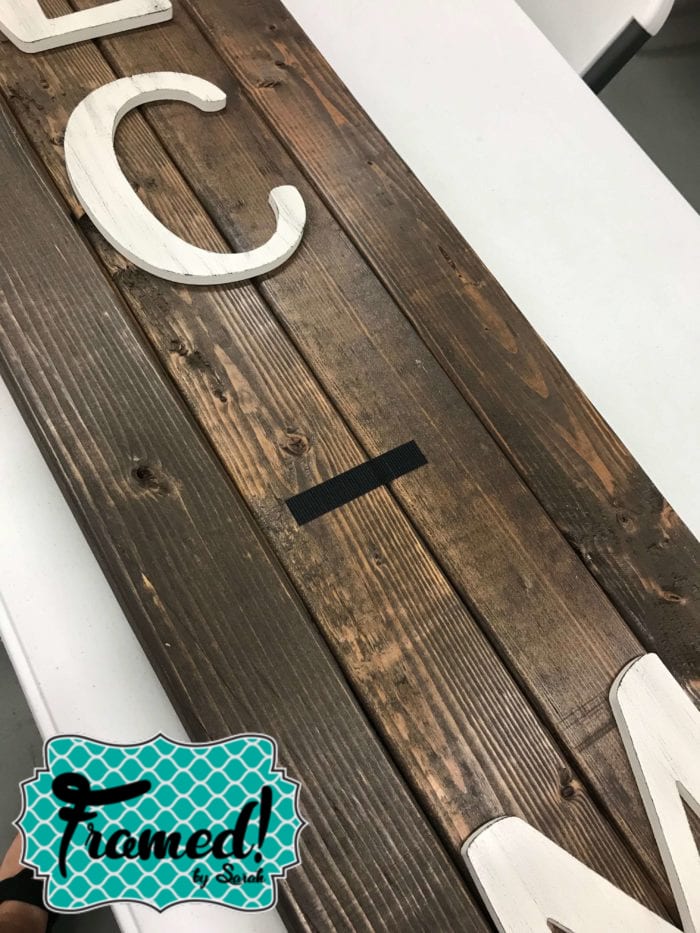
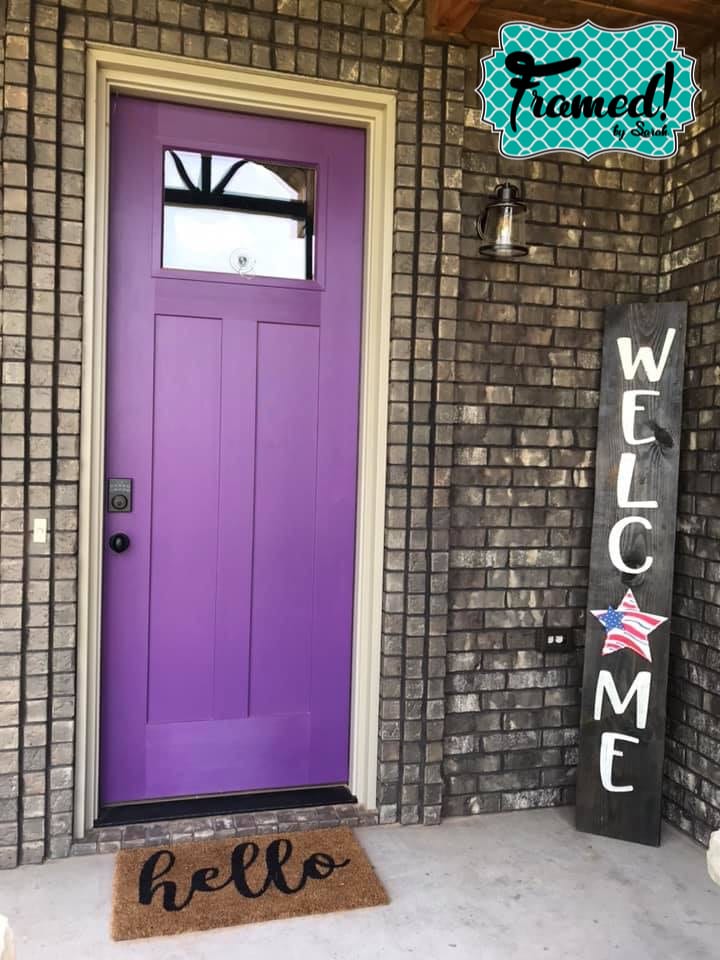
Once your board is stained and assembled, it’s time to work on the WELC ME letters. And yes, the “O” is missing for a reason! This is the spot where you’ll place your seasonal attachments.
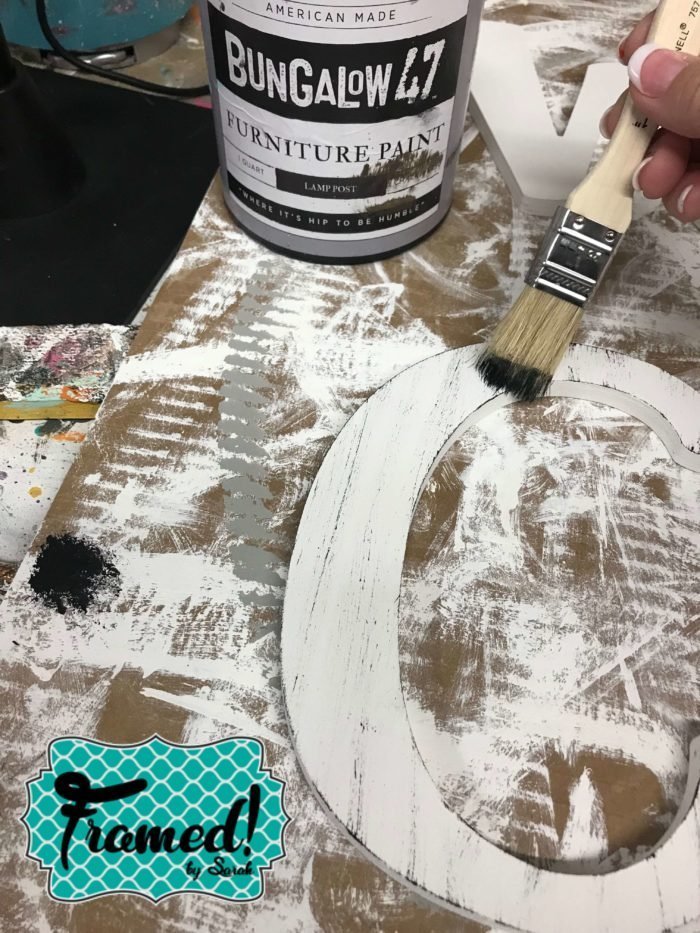
I used white paint for the letters like these. This gave the sign a neutral base that will allow the attachments to be the star of the welcome sign.
Tip: You only need to paint the sides and tops of each letter. There is no need to paint the backs since they will be glued to the board.
Next, it was time to add some faux distressing to the tops of the letters. I used black paint. By using a cheap chip brush, I was able to get that uneven look easily.
This step is where you can get creative. Think about adding some fun gold or black polka dots or stripes. Remember to keep it neutral so your attachments remain the focus.
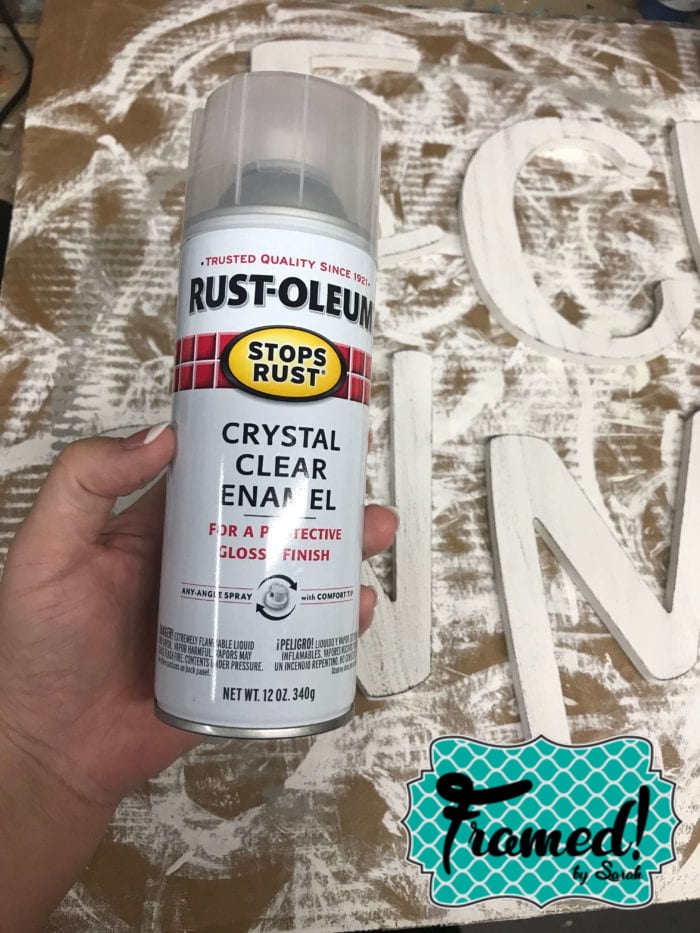
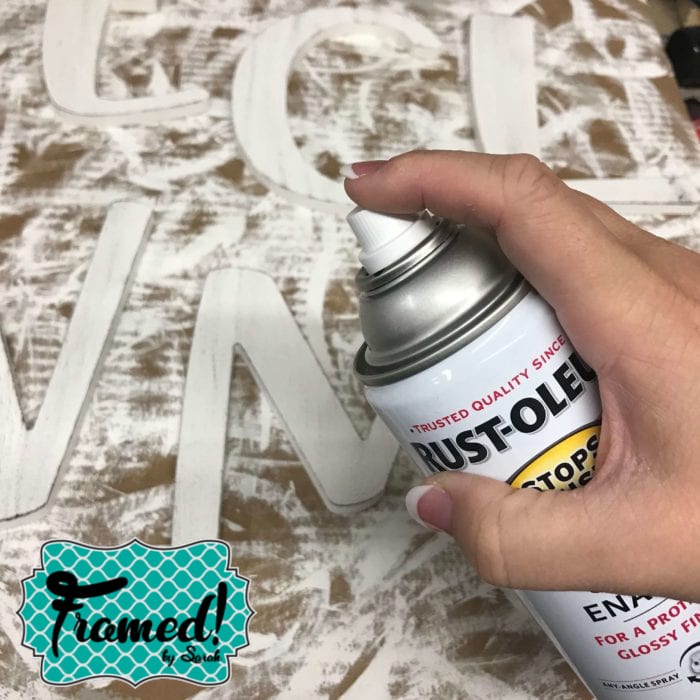
After the paint dried, it was time to seal the letters. Remember, this welcome board will be outside on your porch. Even if your porch is covered, the sign will still be exposed to the elements. My favorite outdoor sealer is Rustoleum Crystal Clear Enamel. I gave my letters two coats and they dried very quickly.
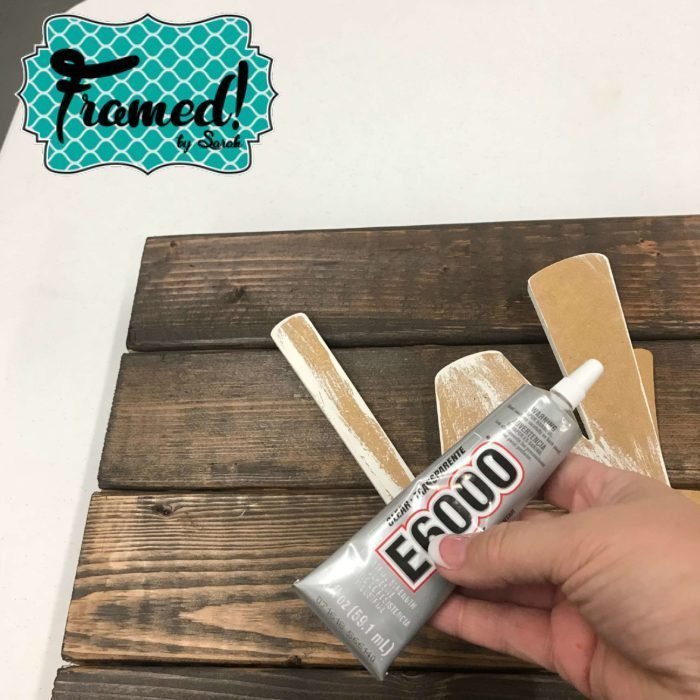
After the letters dried completely, it was time to attach the letters to the board. I used E6000 to glue them. I prefer it to hot glue because it’s stronger and will last much longer outside.
Tip: Lay your letters out on your board and pop in your largest attachment to get spacing right before gluing. You will ONLY glue the letters, NOT the attachments.
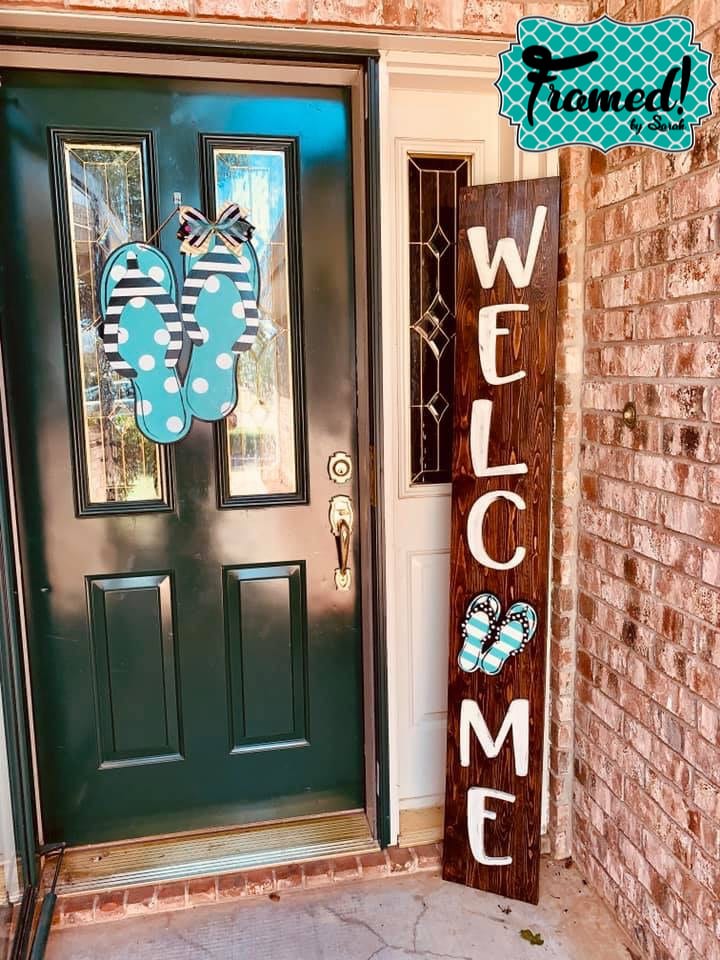
Choose attachments for your welcome sign. I love the selection my friend has at Southern Adoornments. I used a 10-inch seasonal attachment but anything from 8-12 inches will work.
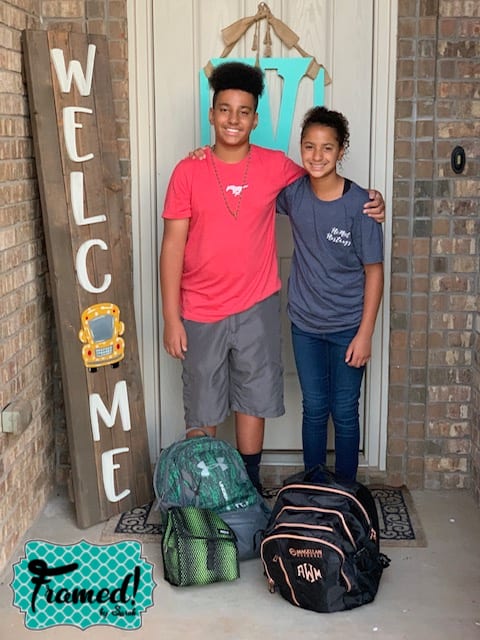
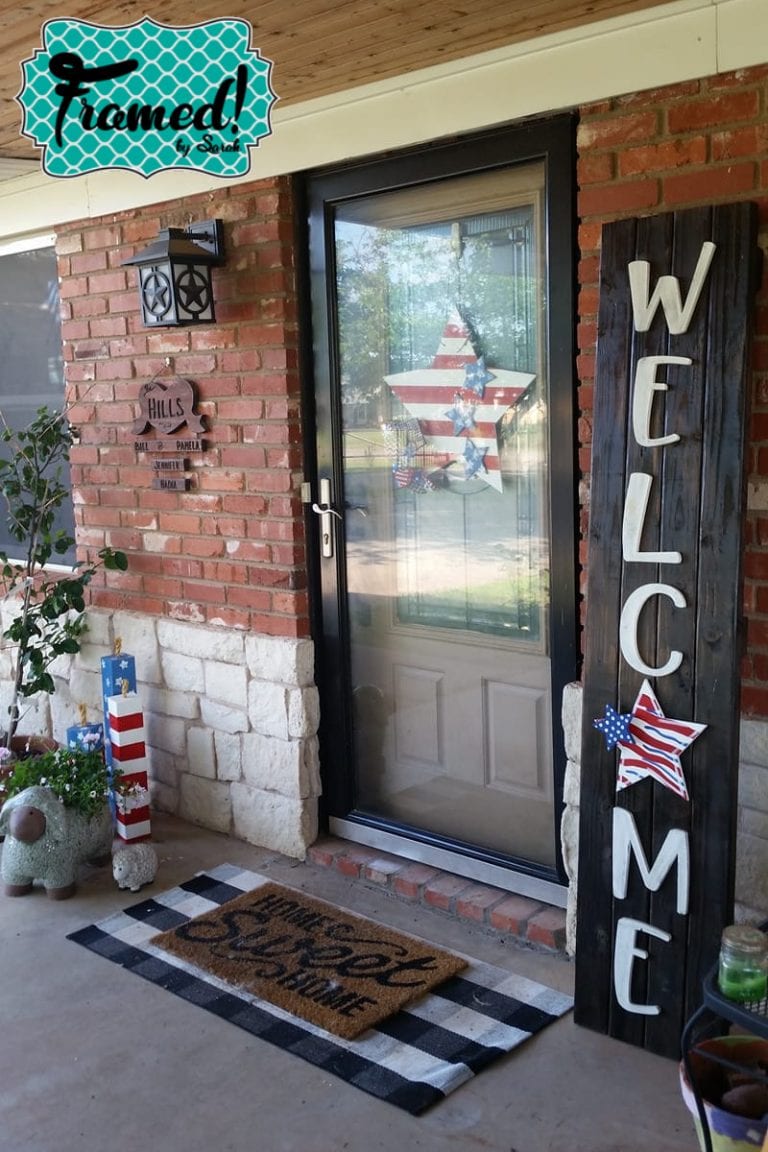
I love having different attachments for each season as well as holiday attachments. A bus for the beginning of the school year is always a fun touch! Paint your wood shape cutout just the way you like it. Again, make sure to seal it to help protect it from outdoor elements.
Once your attachments are painted, attach them to your board using velcro. Velcro is the perfect tool for this job. Your attachments will be securely fastened to your welcome sign while still being each to remove and swap out! You can find strips of Velcro at any craft store.
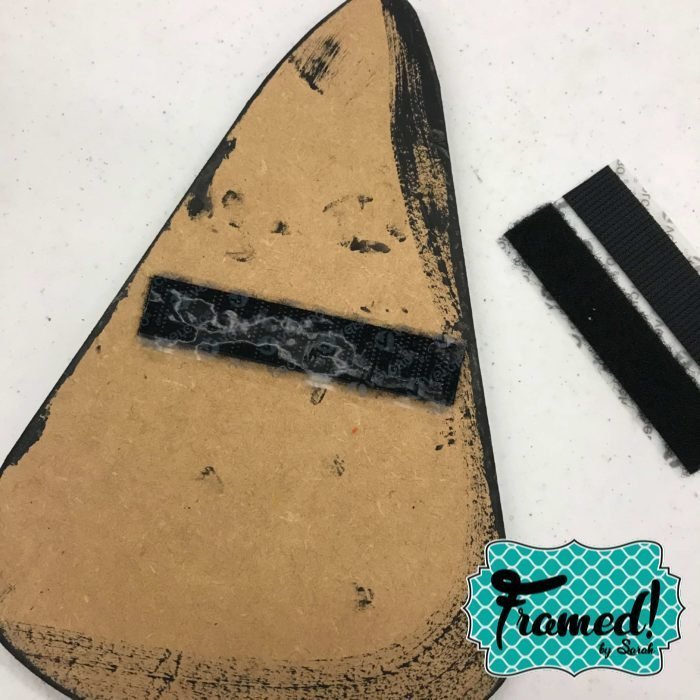
Cut your velcro strips in half and attach the tops and bottoms of the velcro together.
The hard part of the velcro goes on the board and the soft side goes on your attachments.
Peel and stick the soft side onto one of your attachments leaving the hard side stuck to it.
Peel off the plastic from the hard side and stick the attachment onto your board.
Press and hold for a few minutes to secure your velcro in the right spot.
Line up and attach the soft side of your velcro to each additional attachment.
Tip: You won’t need the backer piece of Velcro from each shape because once you get it on the board it stays, but just keep it somewhere handy in case you need to replace it at any time.
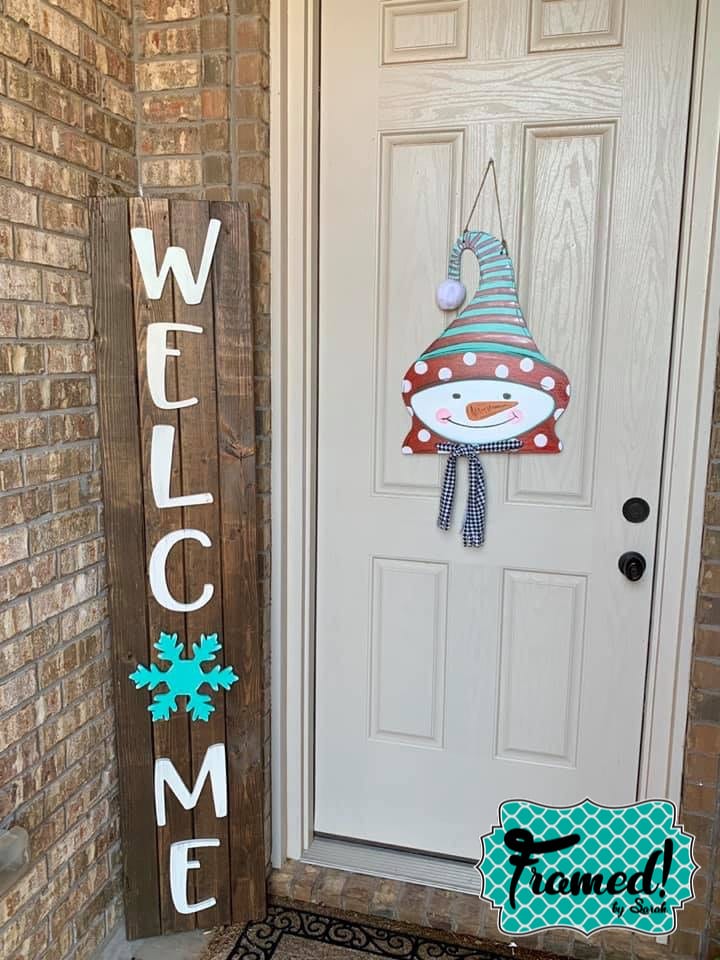
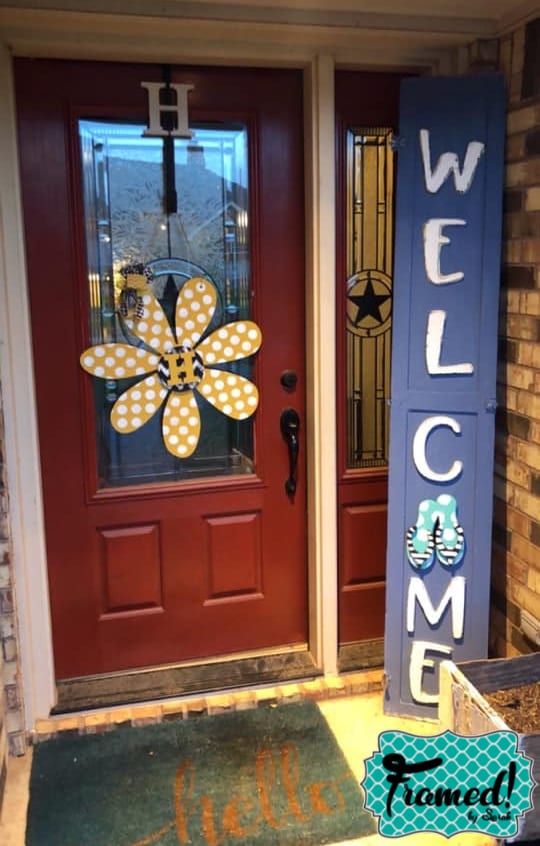
Check out what some of our friends have made!
With this setup, you can easily change out your attachments whenever you would like!
Your DIY welcome sign is the perfect centerpiece for your seasonal porch scape whether you have a “sitting porch” or a simple stoop. You’ll be ready to welcome guests with true southern hospitality!
If you enjoyed learning how to build this Easy DIY Welcome Sign and decide to take the plunge, I would love to see what you create!
Find us on Facebook or Instagram, don’t forget to tag us in your posts! (@framedbysarah)
Be the first to know about our new arrivals and notifications when Sarah goes live on Facebook and get super sweet deals sent to your phone! Text “hey girl” to 940-209-0980.
Please share the DIY Welcome Sign and follow me on Pinterest!