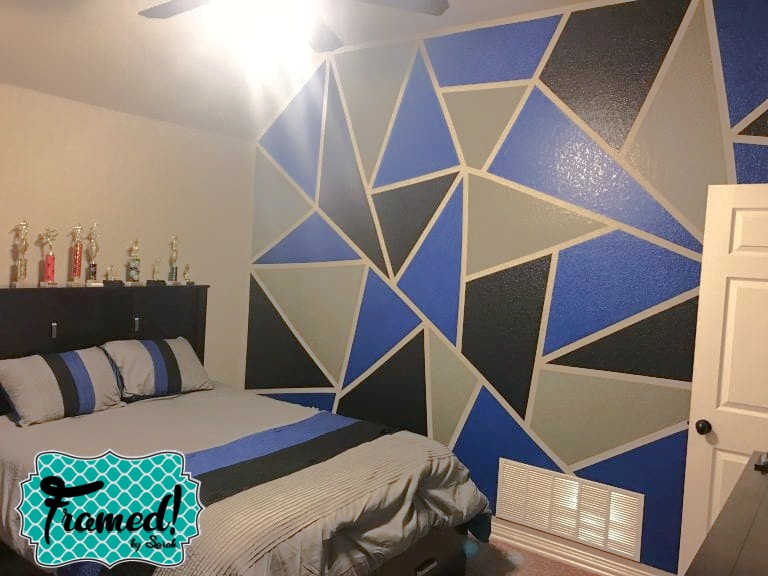
To me, the sign of a truly successful DIY home decor project is still loving it a few years down the road. Three years ago, my family moved into our house. My son was 13 at the time and his only request for his new room was a “cool backdrop” for his YouTube videos. He gave me no direction and simply trusted I would come up with something great. Luckily, he had picked out this new comforter set which gave me the inspiration I needed to create a DIY color block accent wall!
I loved how this wall turned out. More importantly, so did my son. And three years later, he still loves it! Times have changed. He now plays football along with video games and he’s grown some facial hair! But the wall still gets two big thumbs up!
Working on this project together is still a special mother-son memory. We worked hard, we laughed, and we shared the satisfaction of a job well done.
Here is how I painted this DIY Color Block Wall
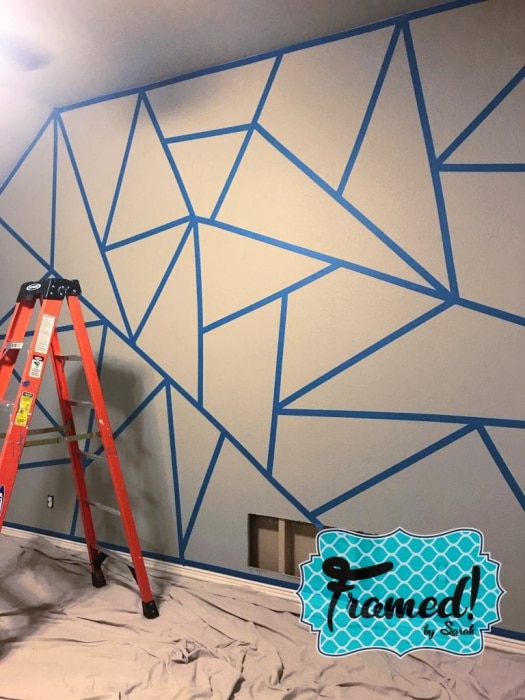
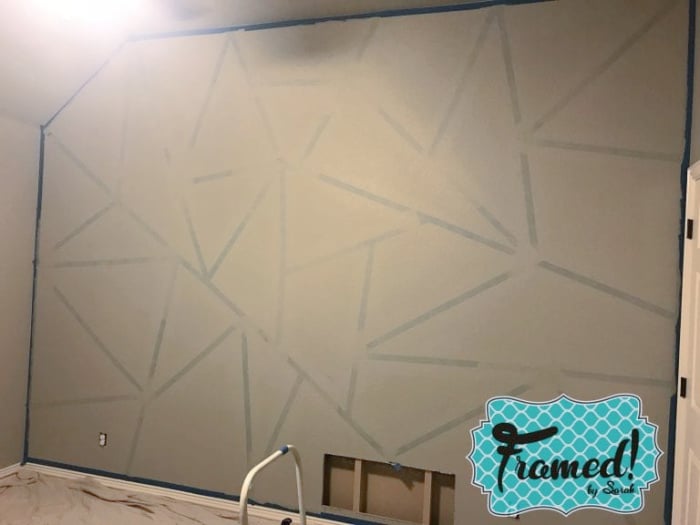
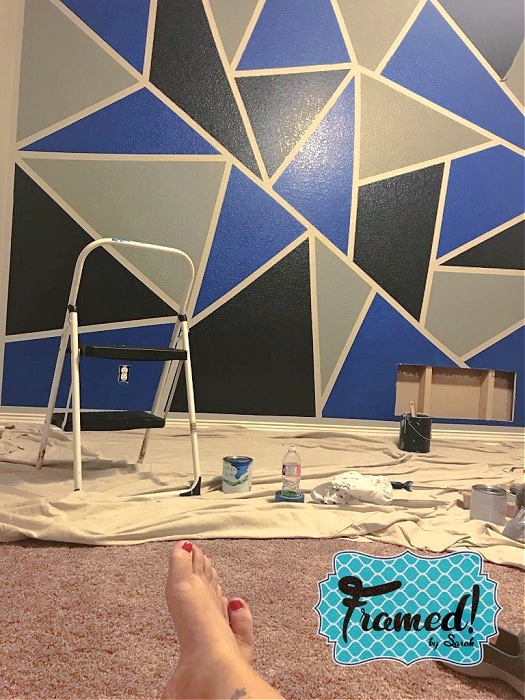
I started by taping the edges of the wall to create a border. Then it was time for the fun part! I randomly created triangles and polygons all over the wall. There was no pattern, no rhyme or reason, just lots of different sizes and shapes.
Once I had the tape down well, I painted a “sealing” layer on top of the tape in the same color as the wall. Don’t skip this step! It helps seal the edges of the tape and make my lines crisper. Be careful not to completely cover the tape – it will be your guide when painting in your blocks.
After the sealing layer dried completely, I started filling in each section with a different color. We chose the three colors in my son’s comforter – black, dark gray, and royal blue. You could choose more colors, but don’t go overboard with it.
We kept the color placement random as well. It’s not necessary to plan this out too carefully. Just try not to get too many of the same color right next to each other and it will look great!
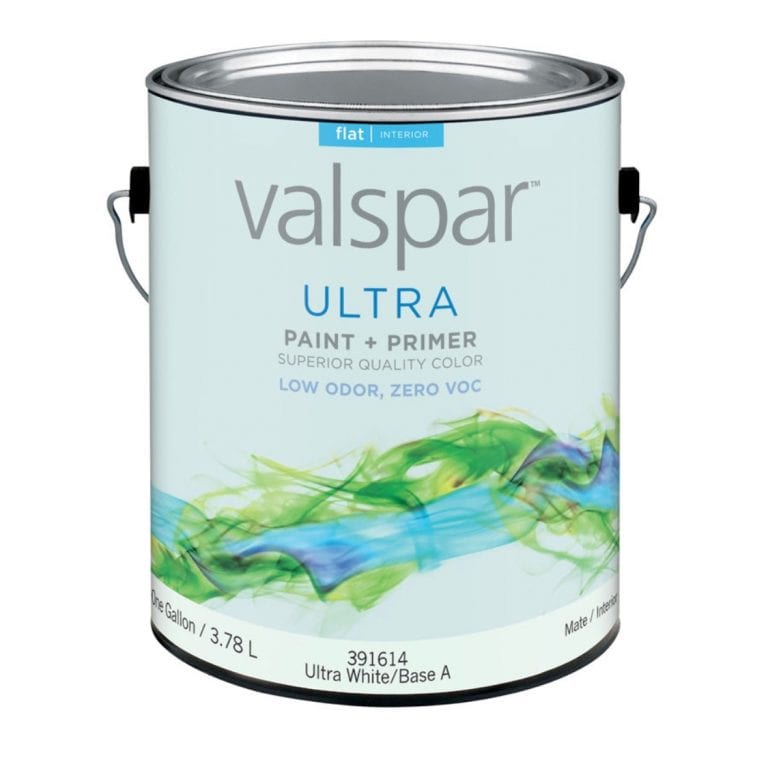
I used Valspar Ultra paint from Lowe’s for all our paint colors. It’s a paint + primer in one and it covered really well! The royal blue and dark gray both only needed one coat. The black needed two for complete coverage. I used small rollers for precision and ease. They let me get in those corners and kept our geometric shapes looking sharp!
Next, it was time to wait.
We let the paint dry for an hour and then couldn’t wait any longer. Patience is not our strong suit! We started peeling the tape to see the results.
It was awesome.
There were a few spots where the paint had bled through the tape a bit. The walls have a bit of texture to them and the colors we used were dark, so this wasn’t a surprise. We took a ¼” angled decorative paint brush and touched up those spots. This only took a few minutes, but made a huge difference to the finished look.
At this point in the DIY color block wall project, it was time to sit back and admire our work.
I LOVED how the wall turned out and, more importantly, my son did, too!
It's YouTube official, "coolest backdrop ever, Mom!"
Just look at that FACE! 😍 This guys big smile made it so worth all the work!
I really enjoyed planning and painting this fun DIY color block wall. If you’re looking for more accent wall ideas you should check out my DIY Wood Herringbone Wall here!
The best part. He still loves it! It’s been three years. My son has grown a LOT and things have changed. He’s in high school now. He has his driver’s license and a job. He’s growing up fast. But he still loves this cool color block wall. And I love that we created it together!
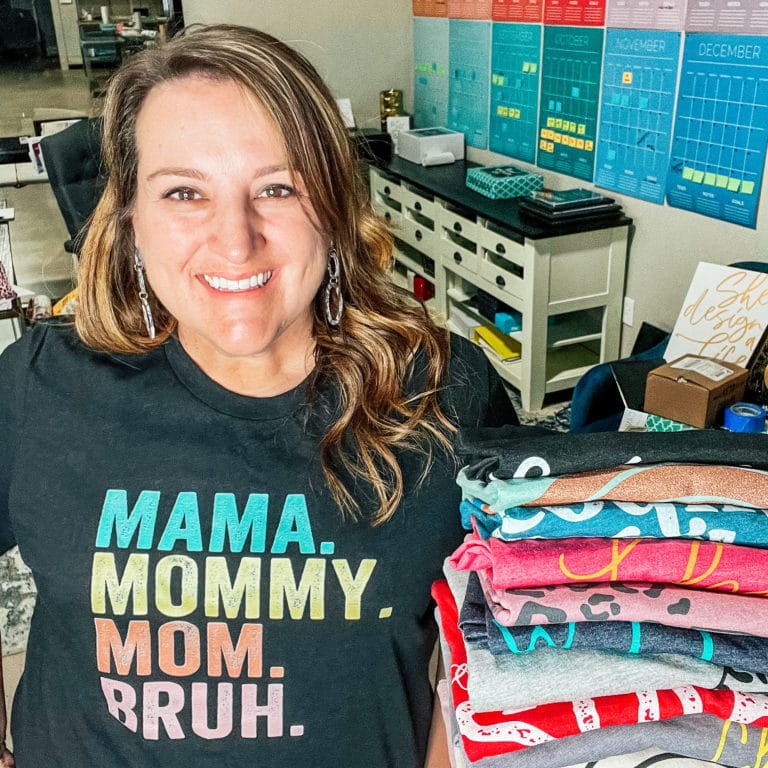
My son was the inspiration for a recent t-shirt design. His favorite thing to call everyone – including me – is “Bruh.” I discovered I’m not alone in this and decided to embrace the “Bruh” a bit. You can find this t-shirt and all of our super soft tees HERE.
Join the T-Shirt Club today and never miss out on one of our cute tees again!
Be the first to know about our new arrivals and notifications when Sarah goes live on Facebook and get super sweet deals sent to your phone! Text “hey girl” to 940-209-0980.
We love it when you share pics wearing our tees! Find us on Facebook or Instagram, don’t forget to tag us in your posts! (@framedbysarah)
Make sure to follow Framed! by Sarah on Facebook! I go LIVE every Friday to chat, share a few sneak peeks and show off all my favorite new arrivals!
